Table of Contents
Microsoft Azure Active Directory Configuration #
This article will cover how to configure Microsoft Azure Active Directory. We will walk through:
- Provisioning the SeamlessDesk application in Azure
- Configuring Azure SSO with SeamlessDesk
Section 1 – Azure Tenant ID #
- Sign in to your Azure portal.
- Select Azure Active Directory.
- Select Properties.
- Scroll down to the Tenant ID field.
- Copy or write down your Tenant ID.
Section 2 – Configuring Azure SSO with SeamlessDesk #
Step 1 — Enable Azure AD SSO #
- Log in to your SeamlessDesk account.
- Select Settings > Apps Section > Single Sign-On > Azure AD SSO.
- Select the upper toggle to turn Azure AD SSO.
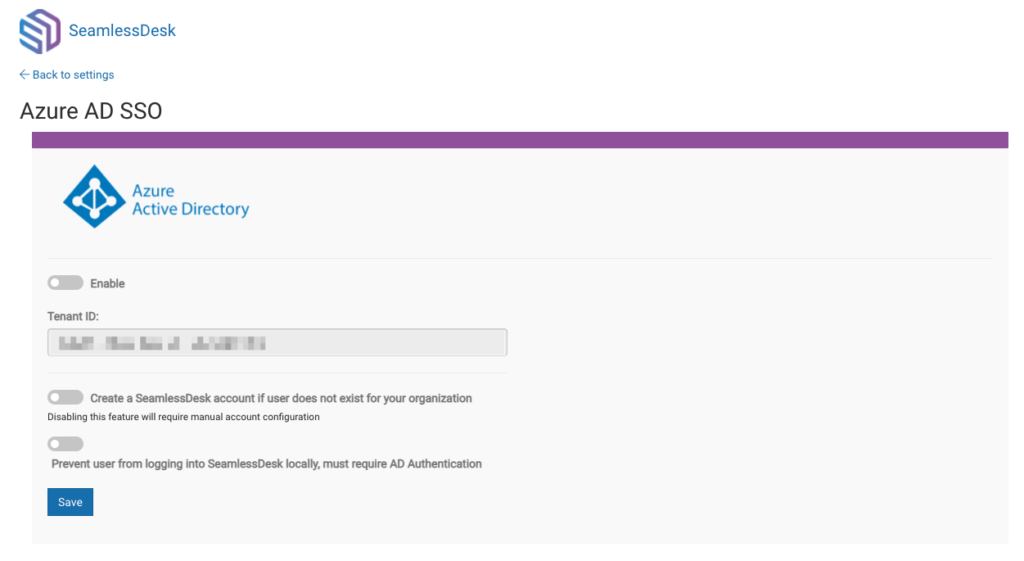
Step 2 — Add your Azure Active Directory Tenant ID #
- Add the Tenant ID from Azure Active Directory in the appropriate field.
Step 3 — Configure your settings #
- Toggle the appropriate settings that you would like to enable (definitions provided below).
- Create a SeamlessDesk account if user does not exist for your organization. Disabling this feature will require manual account configuration.
- This means if the user does not exist in SD, this setting, when enabled, will create an account automatically when the user tries and sign in. Agents or Admins will have to manually generate those end-user accounts if you do not enable this setting.
- Prevent user from logging into SeamlessDesk locally must require AD Authentication.
- When this setting is enabled, end-users cannot log into SD with a local account.
- Create a SeamlessDesk account if user does not exist for your organization. Disabling this feature will require manual account configuration.
- Click Save.
If you need any assistance or if you have any questions, please contact SeamlessDesk support at Support@seamlessdesk.com.